Table of Contents
This is a beginner’s guide to start a WooCommerce website for your online store. The article lists steps to set up the store using the plugin.
The world of e-commerce is vast and growing day by day. With over 12 million online stores operating globally, the industry is booming. So many supporting software and platforms have come up in recent times to help people build an online store effortlessly. Therefore, starting an e-commerce website is not difficult at all.
Read about how to start an e-commerce website here.
This article discusses one such plugin – WooCommerce – that has helped power many online stores globally.
What is WooCommerce?
WooCommerce is an open-source e-commerce plugin for WordPress (WP) to set up an online store. It offers a fully customizable platform for WP users, giving the site owners a lot of control over the content of the store.
In addition to its basic features, WooCommerce offers additional support that will let you manage your e-commerce store seamlessly. There is no limitation to the products you want to sell through the store. Be it digital, physical, or services that you are selling. And guess what? You can add an unlimited number of products in your store and sell to an unlimited number of users anywhere in the world!
If you are in search of a sophisticated and feature-packed platform for setting up your first online store using your WordPress site, WooCommerce should be your final destination.
CBEAUX and GhostBed Mattress are among the e-commerce websites running on WooCommerce.
Now, let us see how you can start a WooCommerce website.
Steps to Start a WooCommerce Website
Setting up a WooCommerce website is easy. Here is a step-by-step guide to starting an online store using the WooCommerce plugin.
Step 1: Install and Activate
Go to the admin page of your WP site (wp-admin) > Plugins > Add New > search for ‘WooCommerce.’
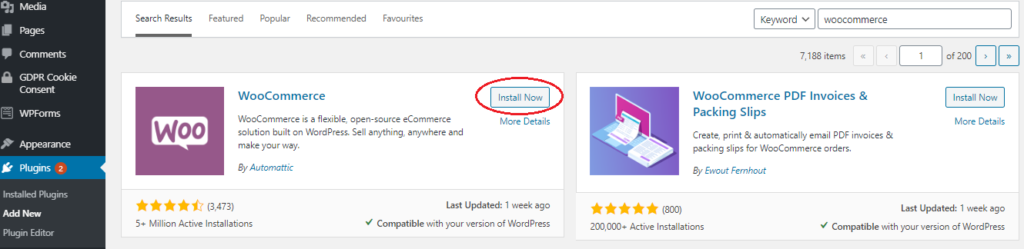
Install and activate the plugin.
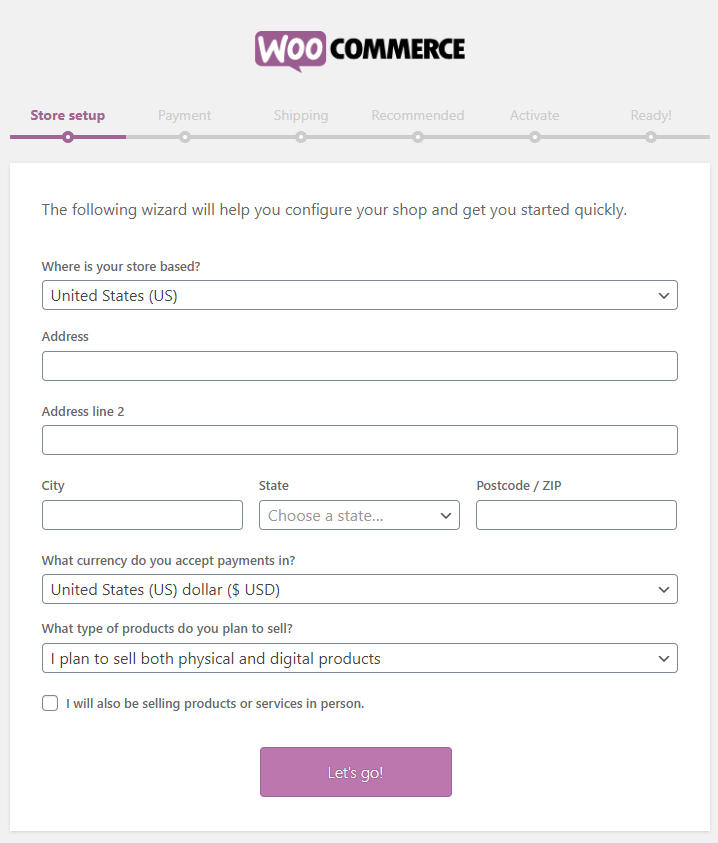
Step 2: Setup Wizard
After activating the plugin, it will take you to the setup wizard of WooCommerce. It lets you set your preferences related to the store. You can skip all the steps and change it later from the WP dashboard also.
Store setup
The setup wizard begins with details about your store’s location, preferred currency, and the type of products you want to sell. Click Let’s go! to continue the rest of the setup.
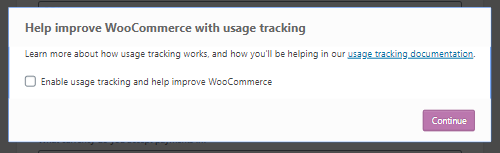
Usage tracking dialog box
A dialog box appears asking for enabling usage tracking and improving WooCommerce. Check the box if you want to allow the tracking. Click Continue.
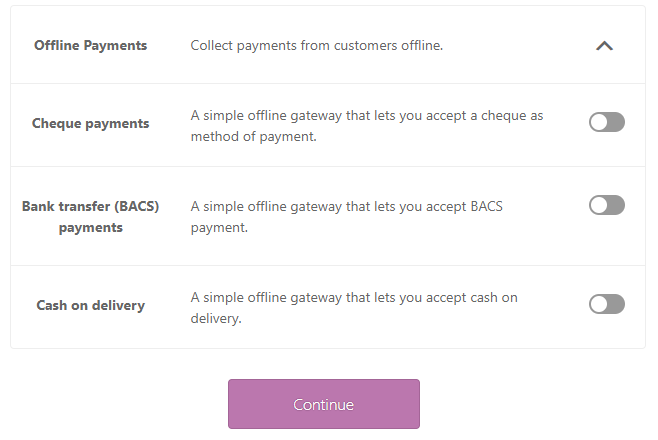
Payment
The payment set up will present you with different payment gateway options for the store. It is based on the store location. For the US, Paypal and Stripe will be available.
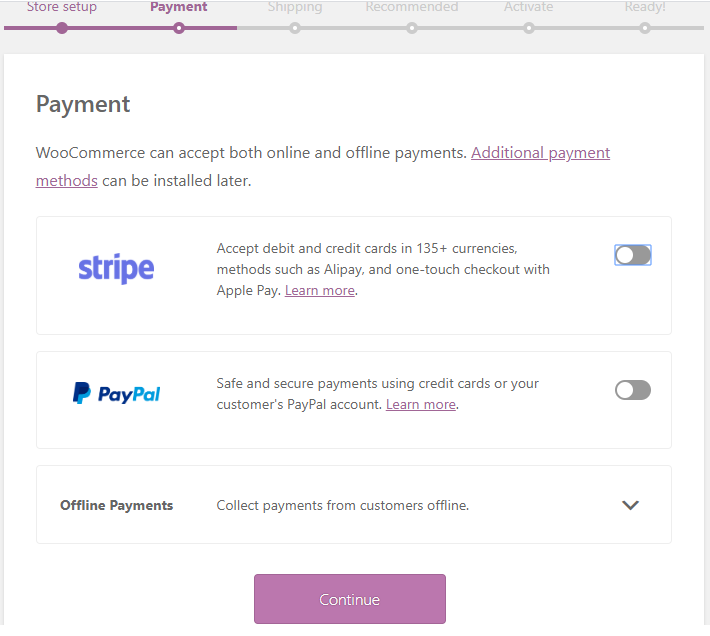
There is also an option for offline payment with options to accept cheques, bank transfer, or cash on delivery.
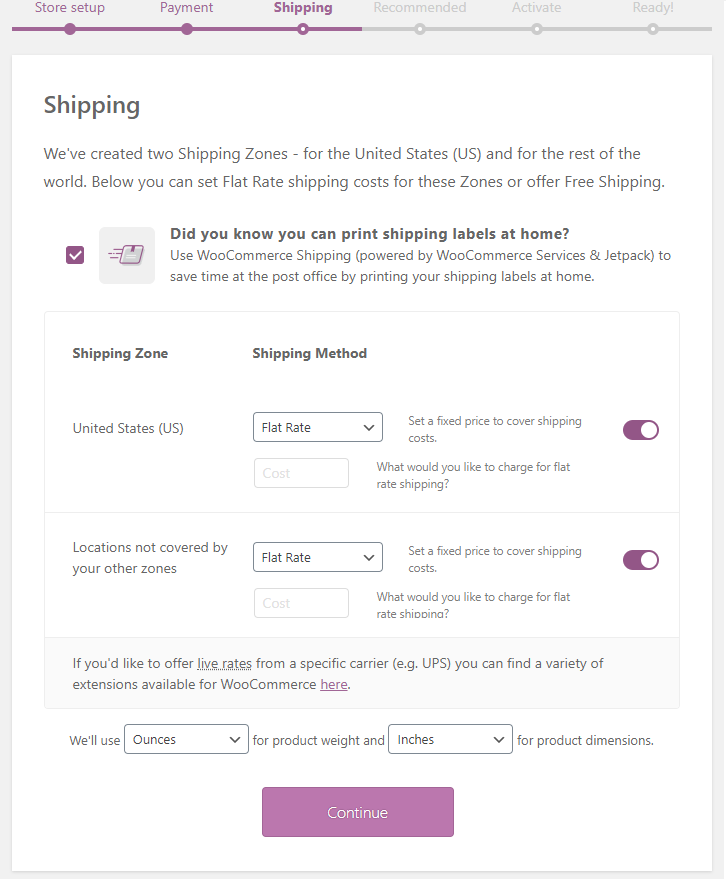
Shipping
The next setting is for shipping, where there are different shipping zone options (depending on the store locale). You can choose free shipping or set a cost. You can also change the product dimensions for physical products.
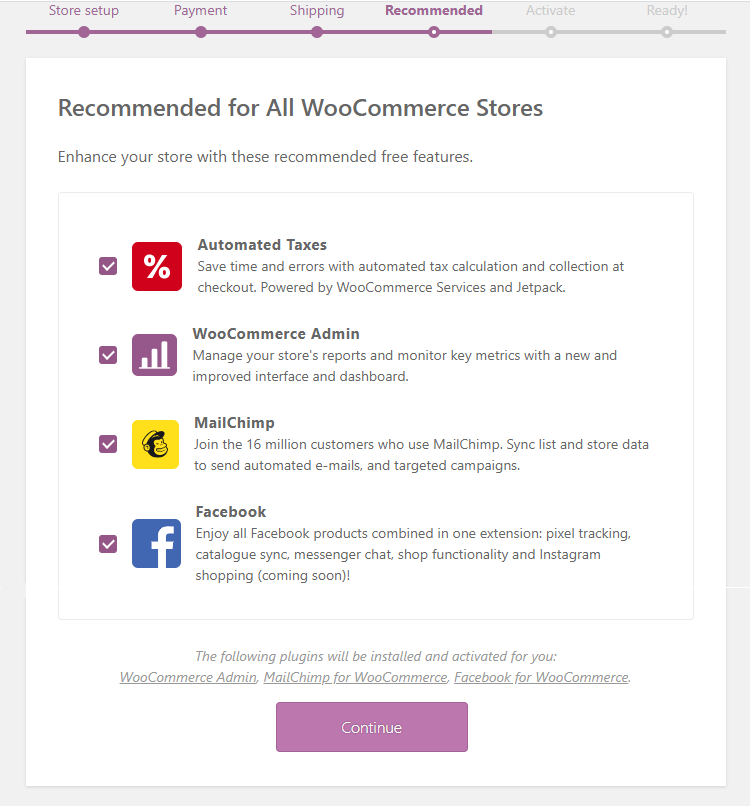
Recommended
Displays a list of recommended free features for your store by WooCommerce. You can uncheck those you do not require.
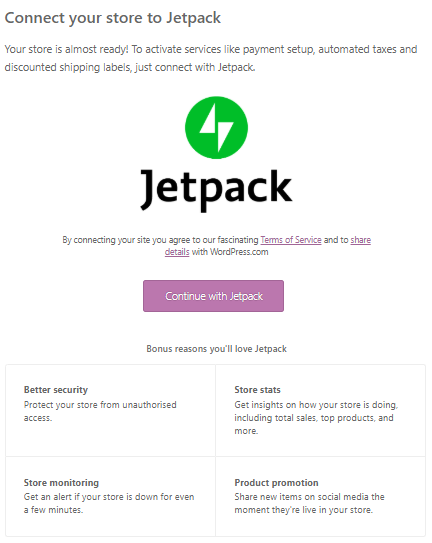
Activate
This is for activating the JetPack plugin that provides additional features for your store. You can skip this option if not necessary.
Ready!
This is the final stage of the wizard. You have to enter your email address to receive tips, product updates, and other content from WooCommerce.
You can directly go to create the product page or import details from a CSV file.
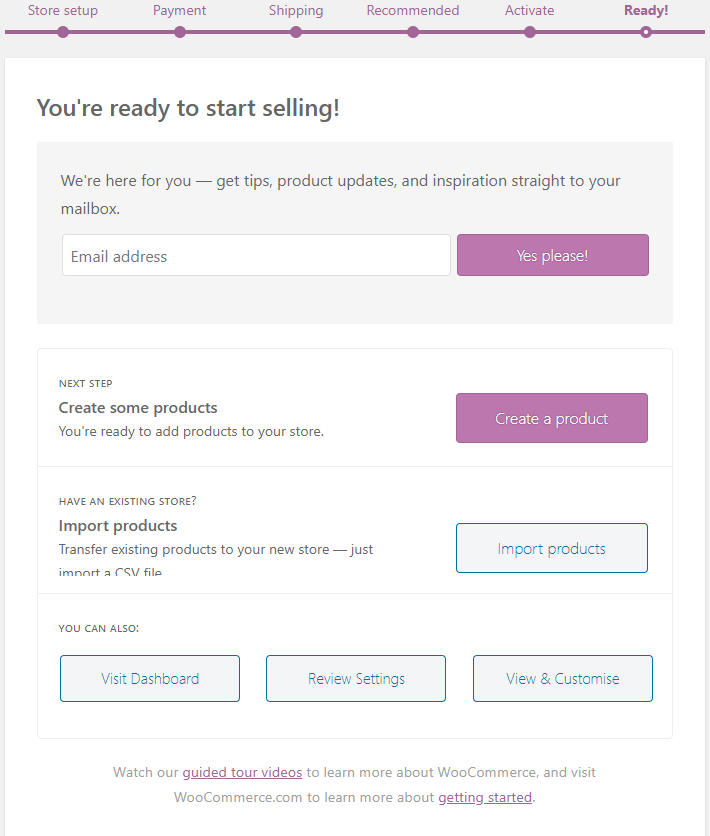
You can also visit the dashboard, review the settings, or customize the store from here.
We will go to the WP dashboard. Here when you scroll down, you can see WooCommerce status.
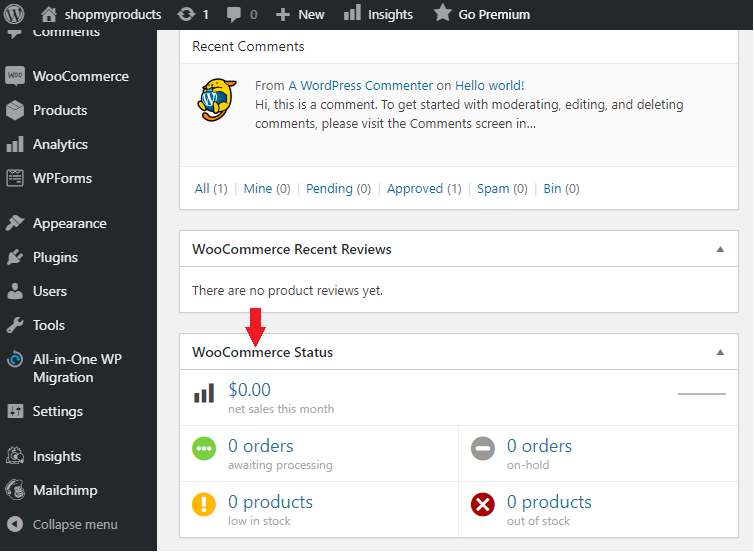
Once you add products and set up the store, it will update these stats.
Selecting Themes
You cannot run an e-commerce store without installing a theme for your store. WordPress offers a wide range of WordPress themes. Some are free, while some are paid. Go to Appearance > Themes. You will see several themes here. Some are free, while some are paid. You have to choose a theme that is compatible with WooCommerce.
While choosing a theme, make sure to keep your brand and products in mind. The theme should reflect what you are selling.
It would help if you also took note of all the functionality the theme offers. Always keep in mind that whatever theme you chose, you should not be struggling to keep all the customization when you want to switch to another in the future.
The store theme should have a responsive design, i.e., the site must fit the screen size of any device the user is browsing it on.
WooCommerce has many themes designed for specific industries. Check them out here.
Step 3: WooCommerce Configuration
From the WP dashboard menu, select the WooCommerce option. You can see a list of options underneath. Let’s look at them one by one.
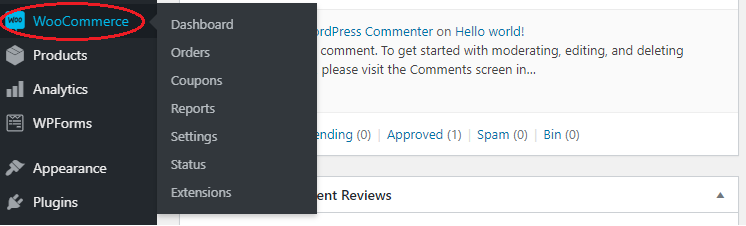
Dashboard
This is the place where it tracks store performance, such as orders, discounts, downloads, best sellers, etc. It updates only when you add products and other details.
Orders
When you receive the product orders, it will be displayed on this page. You can manage the order status, modify the billing address and content of the order.
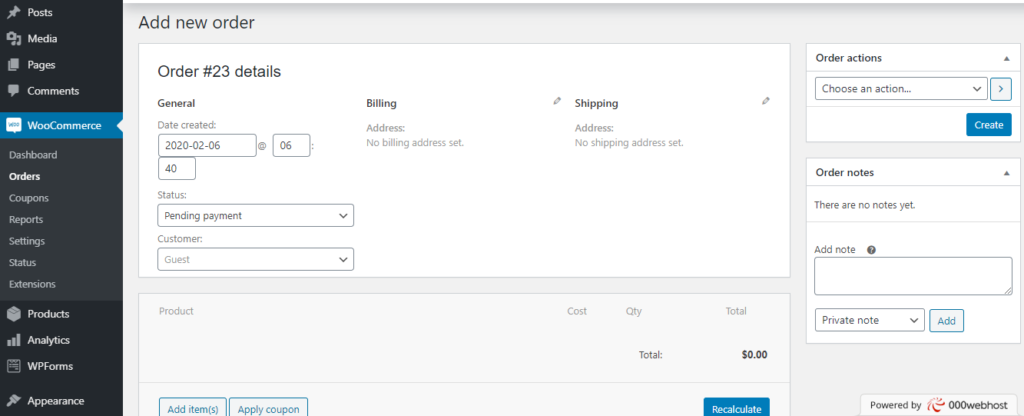
Learn more about it here.
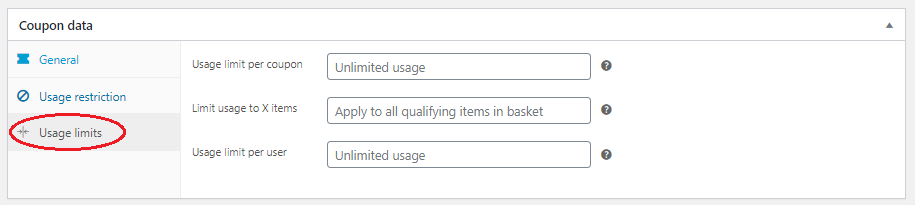
Coupons
You cannot start a store without giving your customers a coupon discount. This is where you can add coupons.
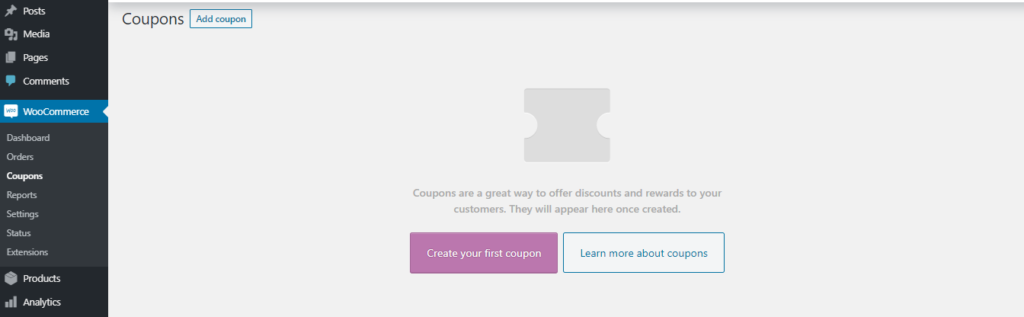
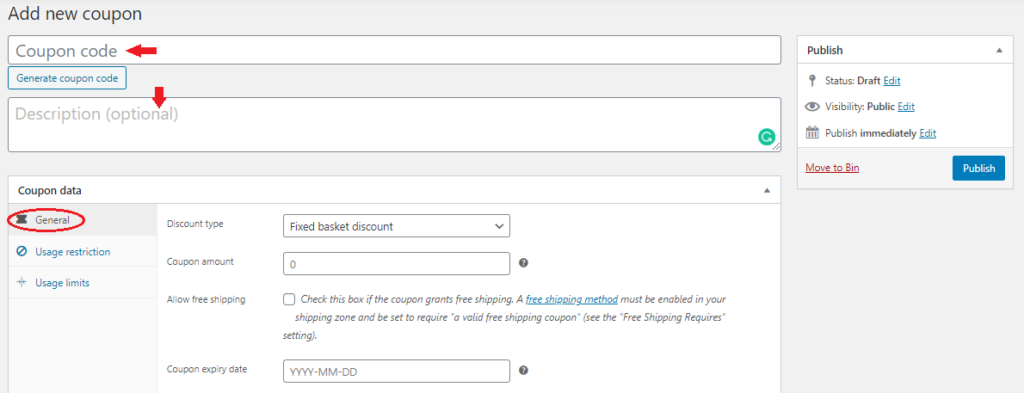
Click Add Coupon to add your first coupon. It will open the coupon description page where you can add details about the coupon, like the code that users will use to apply it and its description. You can set other coupon data, such as discount type, coupon amount, and expiration date.
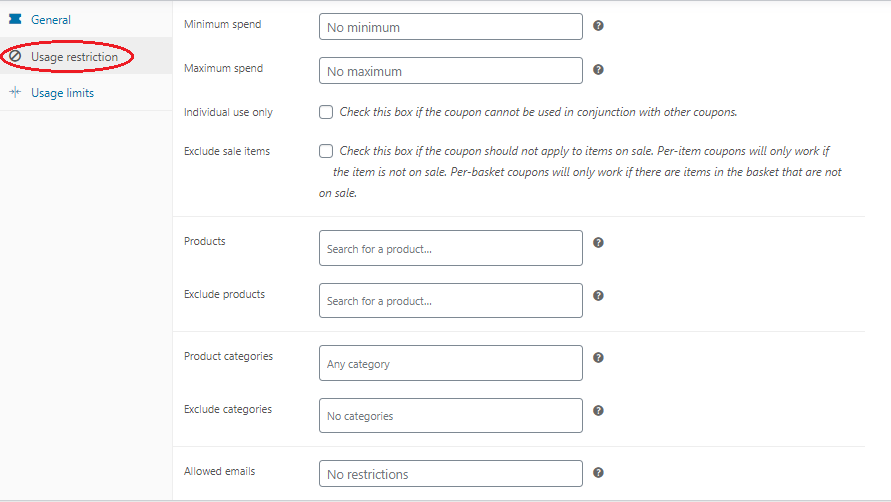
You can also configure the usage restrictions, such as limitations on amount, products, or product categories, along with setting coupon usage limits.
Reports
This is what the name suggests – reports on orders, customers, stock, and taxes. You can view the report of a year, month, or of the time period you set.
You can export the report on your device as a CSV file.

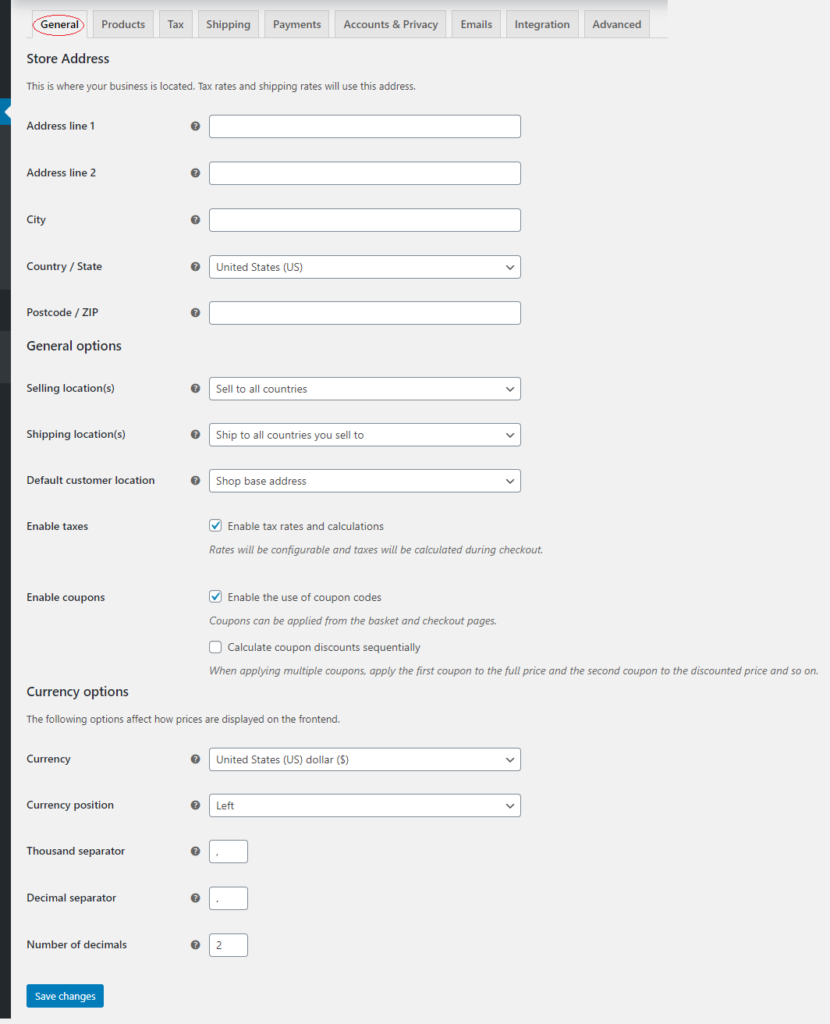
Settings
This is where you will configure the essential parts of your store.
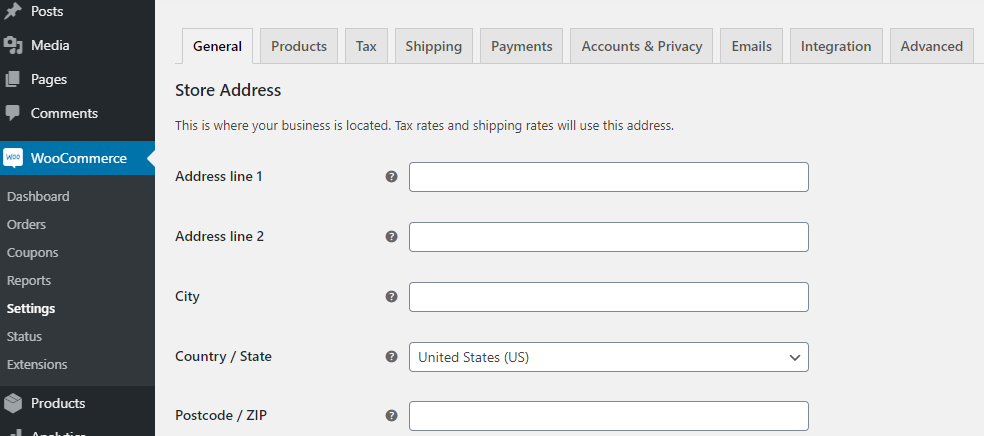
As you can see, there are various tabs in this menu.
General
In the general tab, you can configure details such as the store, shipping, and customer location, enable tax and coupon, and how the price will be displayed on the site.
Products
In the product tab, you can configure the following:
General: Here, you can manage the cart setting, set up product measurements, and review and product settings.
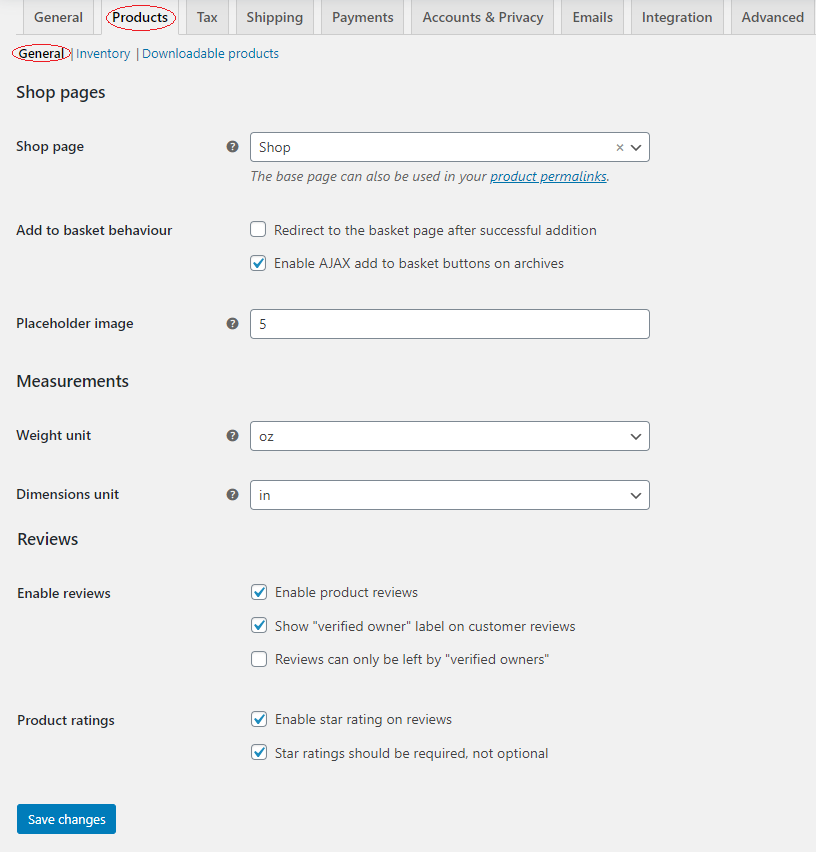
Inventory: This is for managing the inventory of your store, such as setting up minutes for holding products for customers, enabling low and out of stock notifications, and setting low and out of stock threshold.
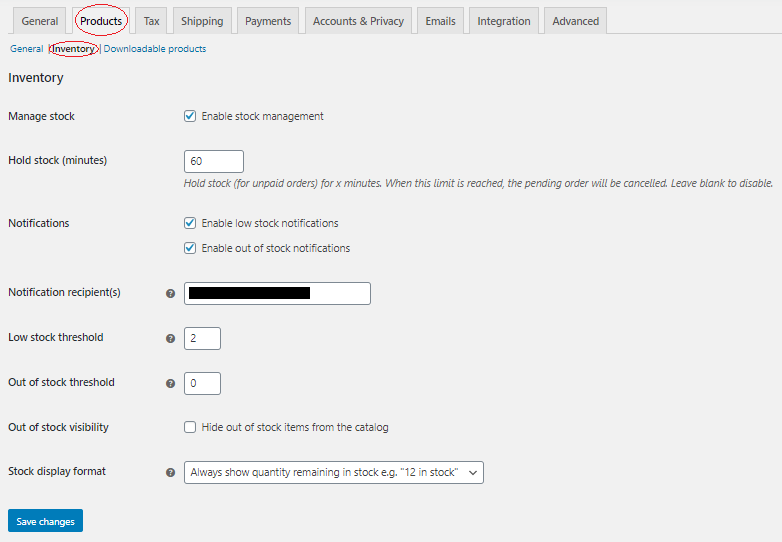
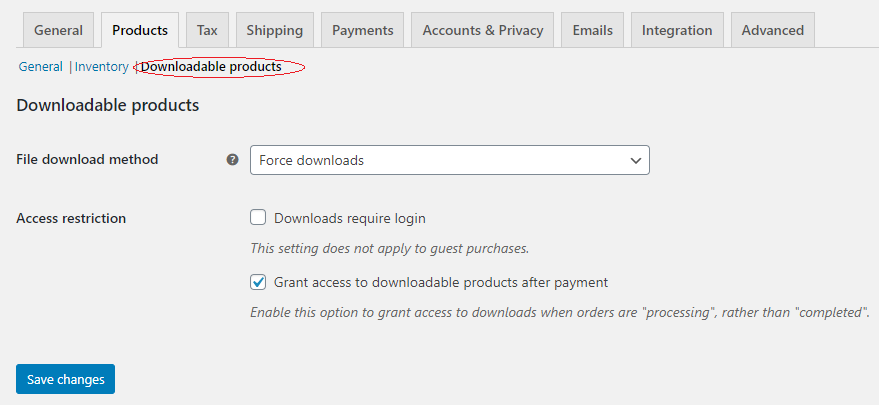
Downloadable products: This is for digital products where you can set the file download method. You can also set up access restrictions to such downloadable products – either after login or after payment.
Tax
This tab lets you set up the tax classes and other tax display options for your products. There are settings for when you ship outside your store locale. Different tax settings available in the tab are: Standard rates, Reduced rate rates, and Zero rate rates.
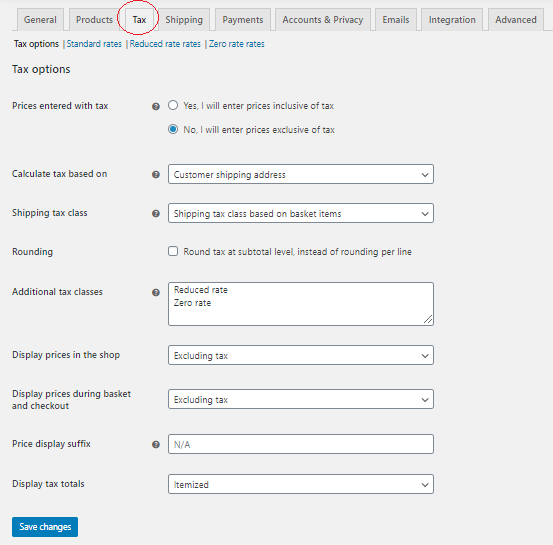
Read this article for more info.
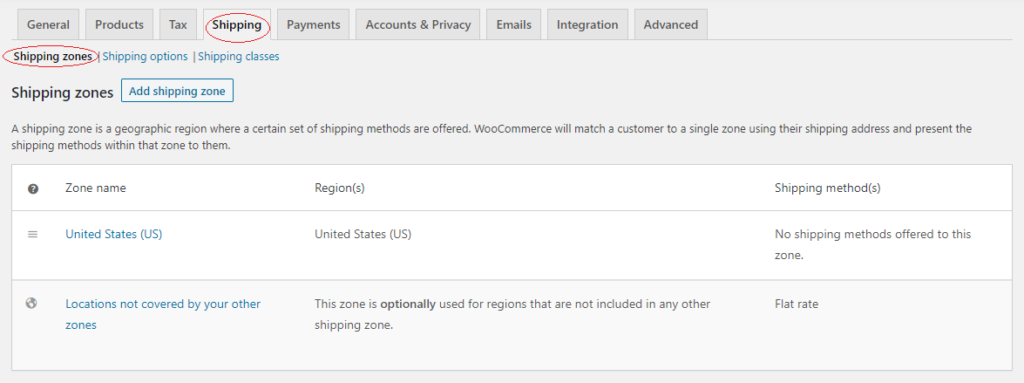
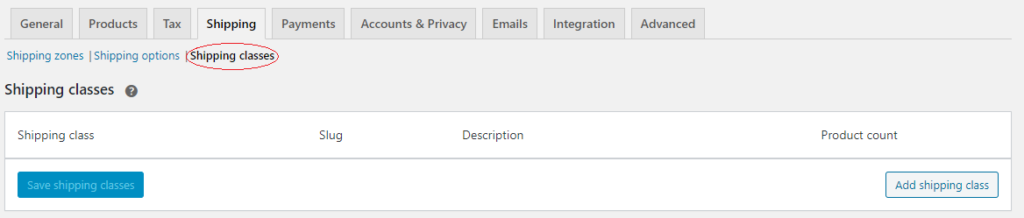
Shipping
This tab lets you configure the shipping of your products.
Shipping zones: Here, you can add several shipping zones where specific shipping methods are offered.
Shipping options: This is to set up the shipping calculations and the address to which the products will be shipped to.
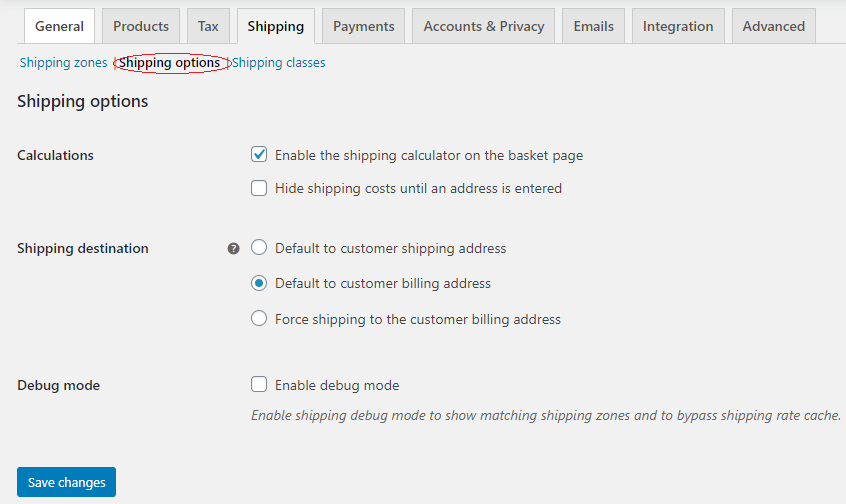
Shipping classes: This is to define the shipping class, i.e., there are different shipping rates for different types of products and count.
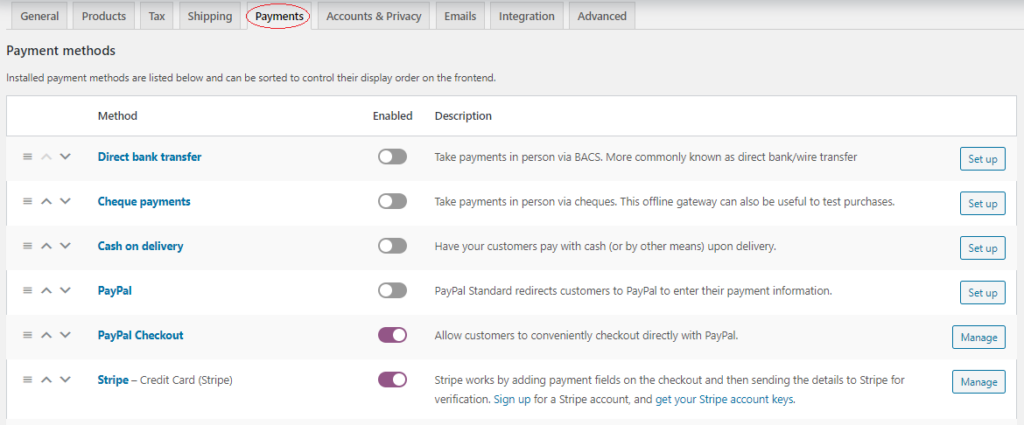
Payments
Here you can enable and set up the different payment methods, depending on the location.
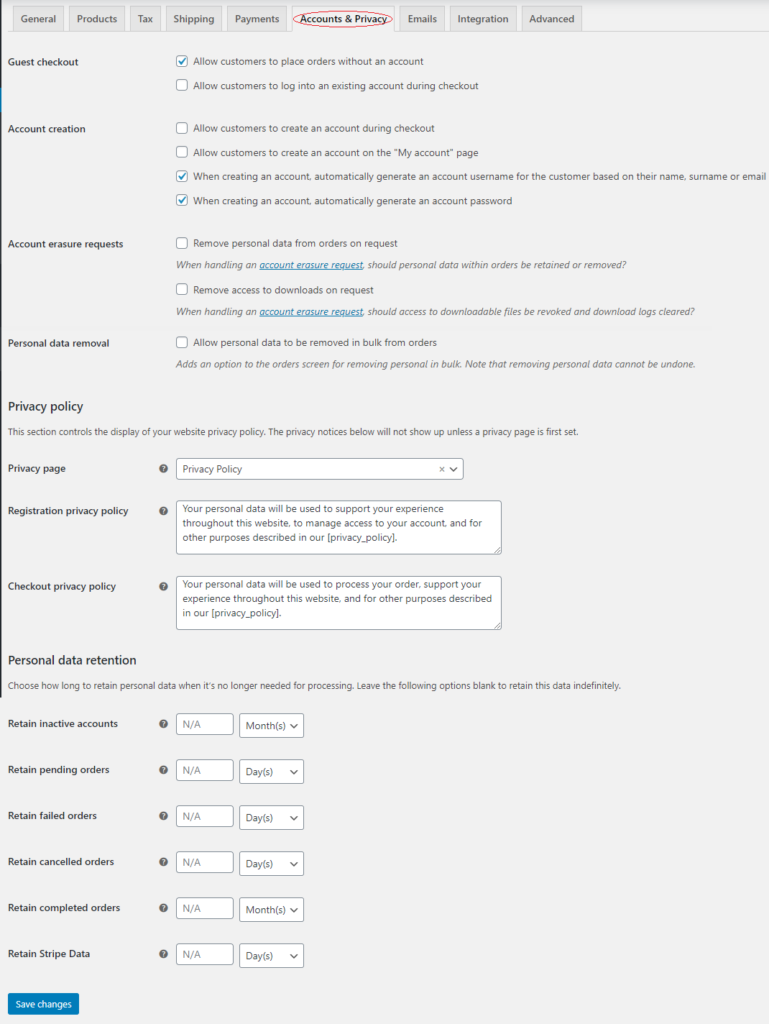
Accounts & Privacy
This tab lets you set up details related to customer accounts, such as guest checkout, creation, and account and personal data erasure.
You can also configure the privacy policy of the store (make sure to add one on the site).
There are settings to define the retention periods for personal data of customers when it is no longer needed, like for inactive accounts, pending orders, canceled orders, completed orders, etc.
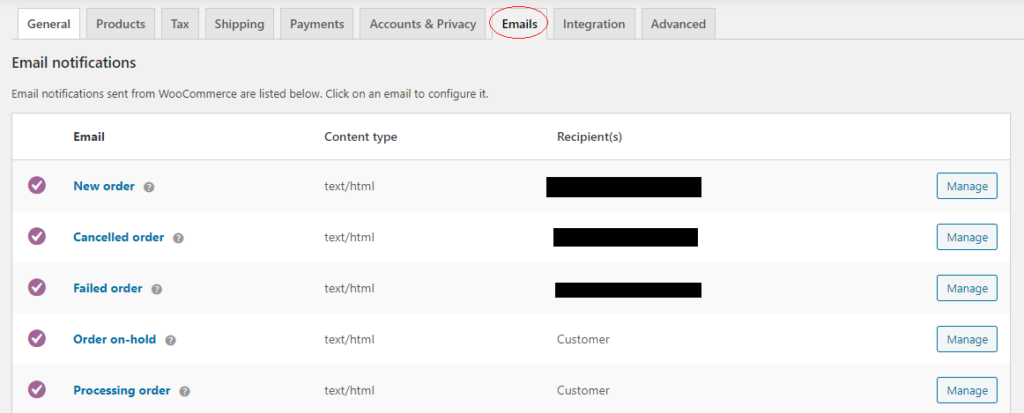
Emails
Various options to enable email notifications from WooCommerce are available in this tab.
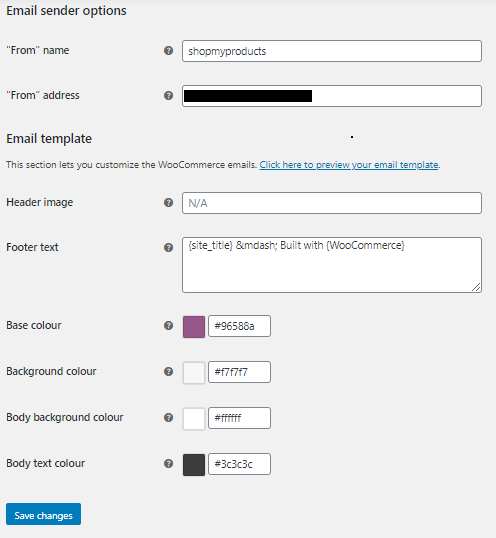
You can also configure other email options, such as the sender’s name and address, and the template of the email. You can preview the email template to check.
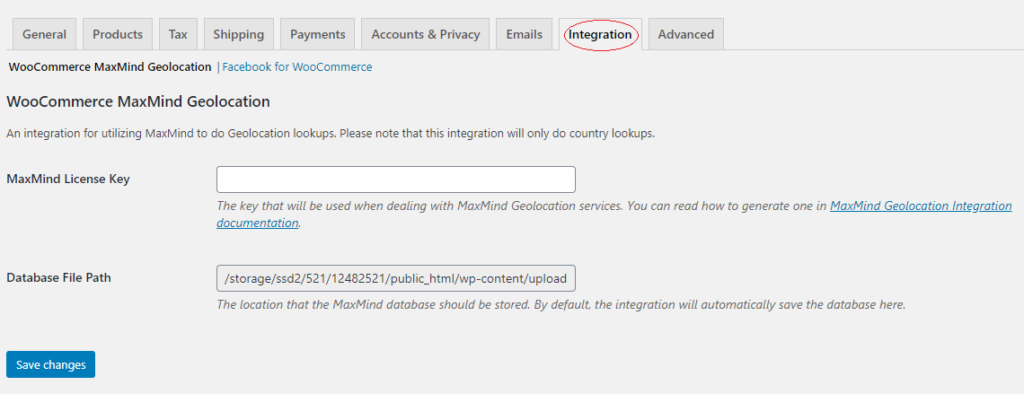
Integration
This is for integrating WooCommerce with MaxMind GeoLocation and Facebook.
Advanced
This tab is mainly for setting up different pages and endpoints.
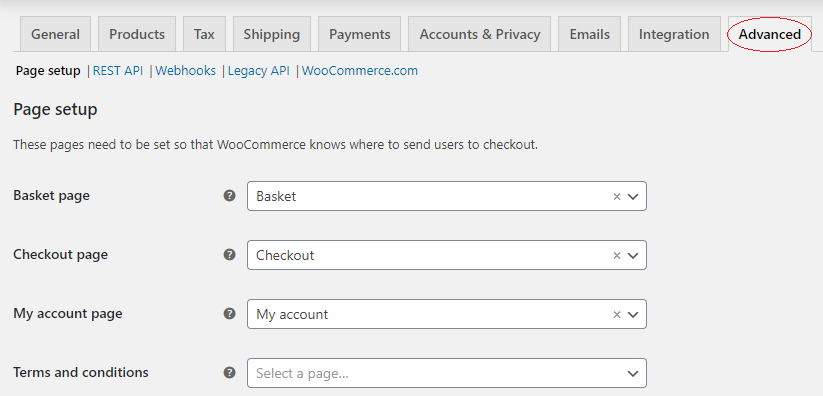
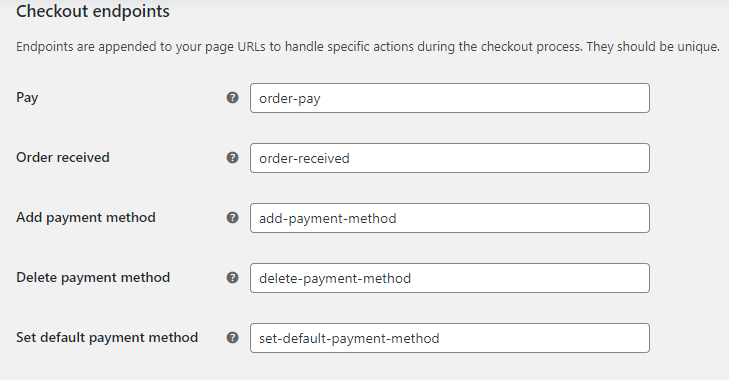
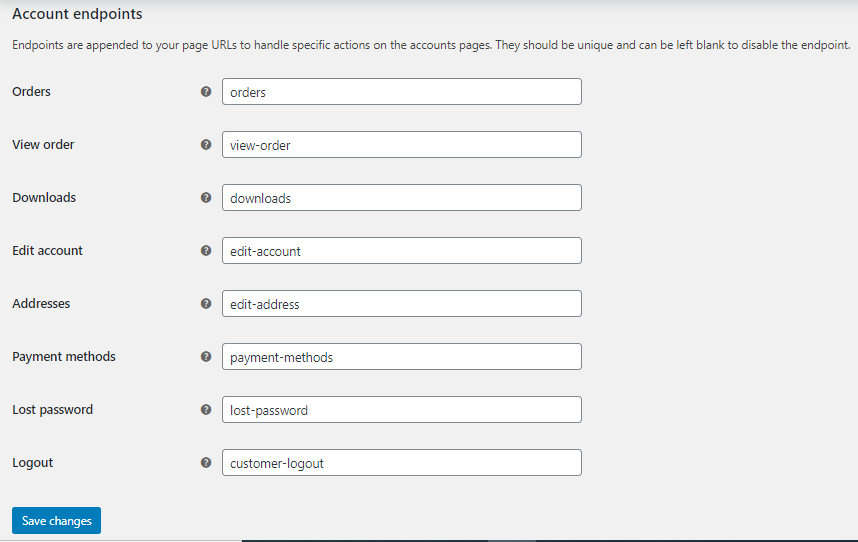
You can also enable REST APIs and Webhooks for the store.
Status
The Status report shows the store information about the WordPress installation, server, and database. There are tools to update and logs of various events in the store.
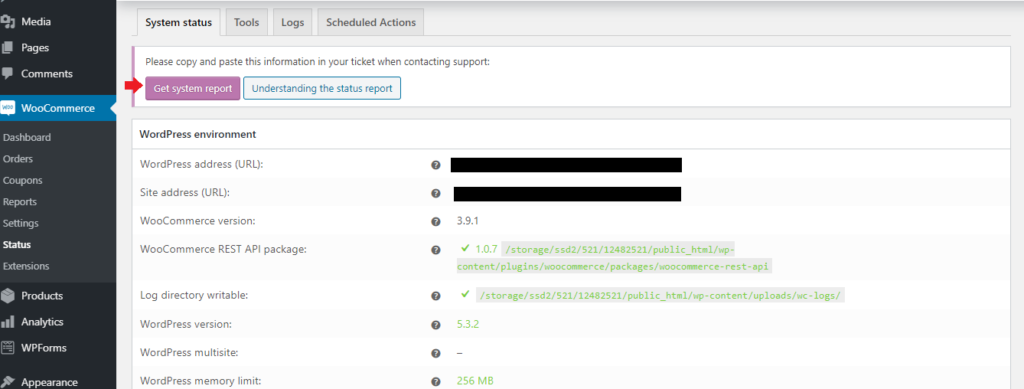
You can the system status report in case you want to contact WooCommerce about any issue you are facing with the plugin/store.
Learn more about the status report here.
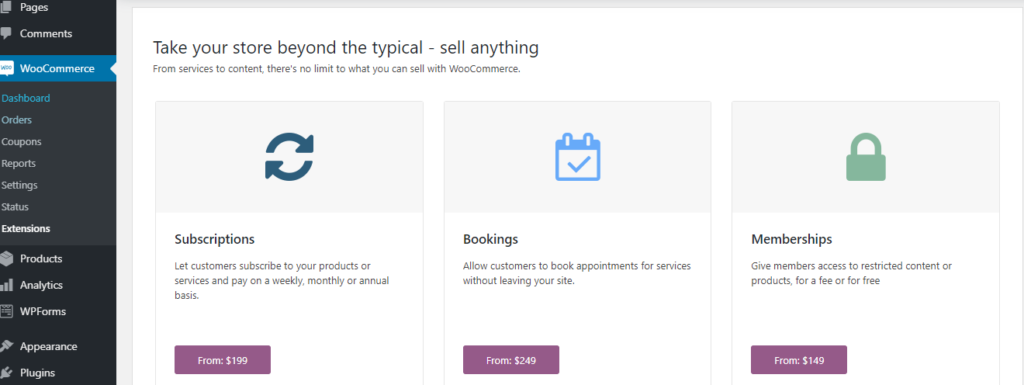
Extensions
Here you can purchase various add-ons for your store that offer different features.
That concludes the WooCommerce configuration part.
Step 4: Add Products to Your Store
Next up is a crucial page – Products. A product page is one of the vital parts of any e-commerce website. Read about why is it is important here.
You can see the option to add products on the WordPress menu, right below WooCommerce.
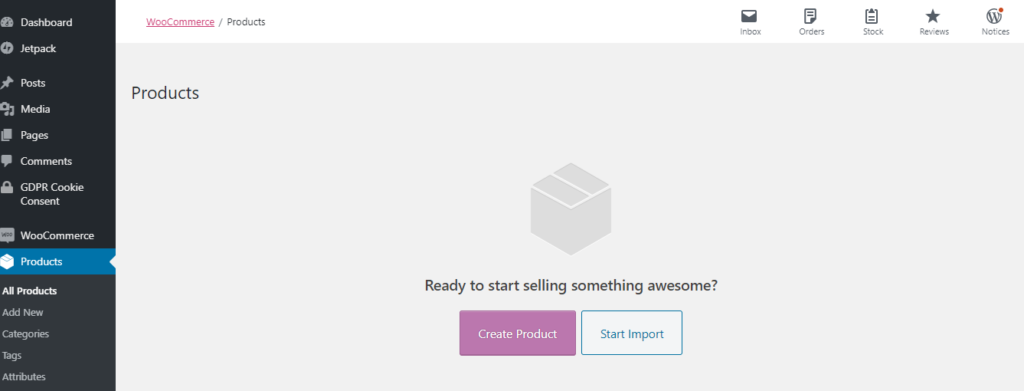
Click Create Product to add products to your shop.
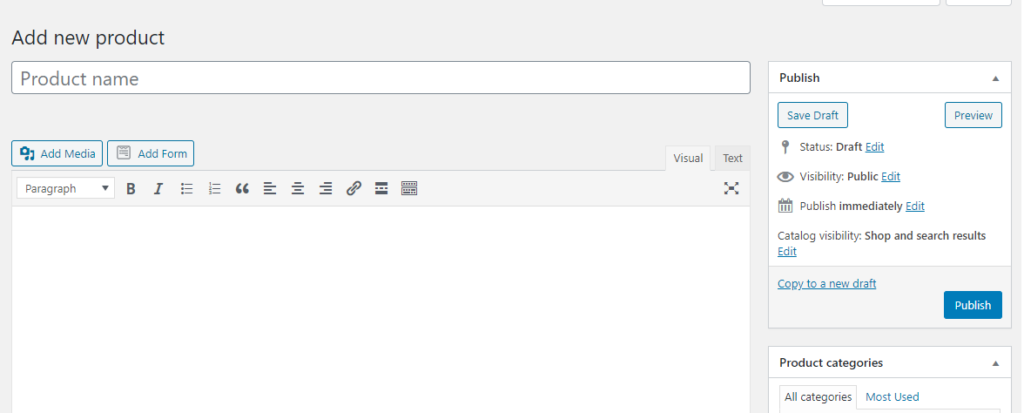
Here you can add details about the product, such as:
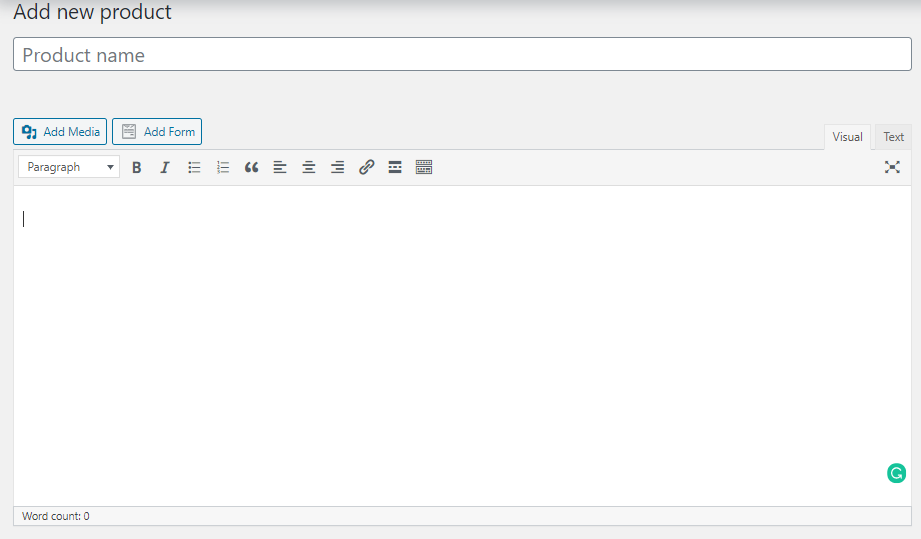
Product Name: Add the name of your product here.
Product Description: Add a description of the product. This should be long enough to give the customer all the necessary details. You can add accompanying images and videos here.
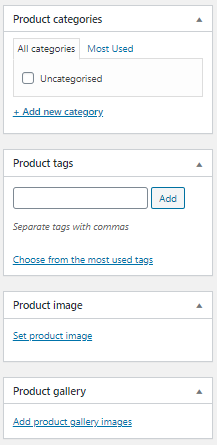
Product Categories: Here, you can add the category the product belongs to.
Product Tags: Adding relevant tags will help the customers to filter their product search.
Product Image: This is the image of the product that will be featured on the product page. Therefore, you should add a good quality image here.
Product gallery: Here, you can add other images, preferably various types or from multiple angles, for customers to get more info.
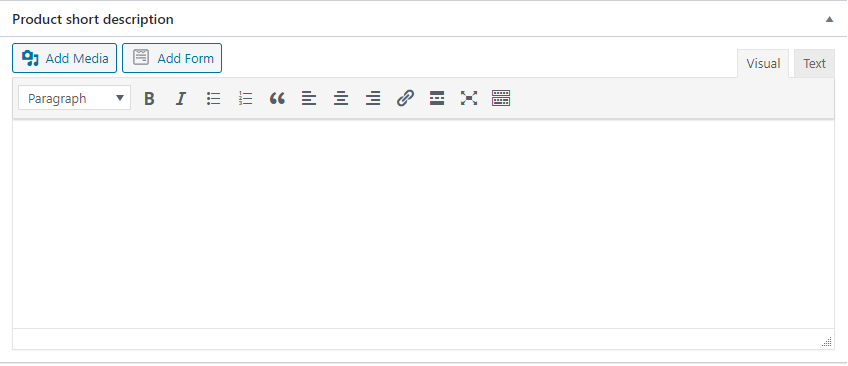
Product Short Description: This is the space for a short description that would appear on the preview page. You can also add media here.
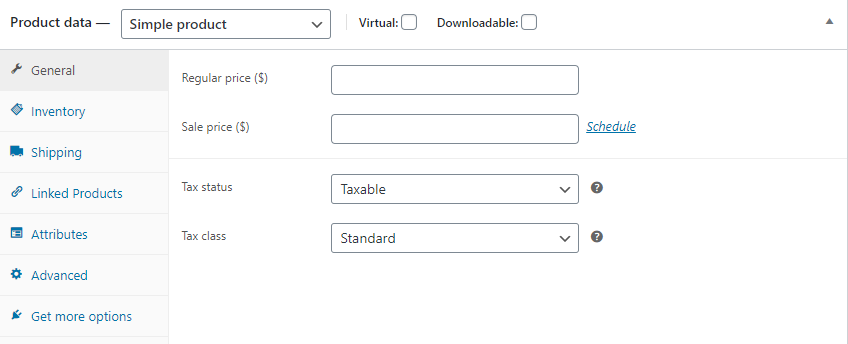
Product Data
This section lets you add additional data about the product added.
The first is to set the product type. You have four options to choose from: Simple product, Grouped product, External/Affiliate product, and Variable product.

What you choose will change the other settings accordingly. Let’s see what they are:
General
Here you can set the regular and sales price of the added product and if it is taxable and set the tax class for it.
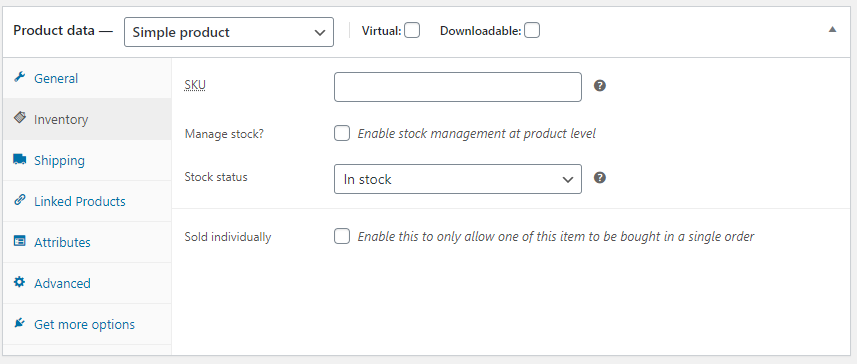
Inventory
You can set the SKU for the product and the stock status here.
SKU means “Stock Keeping Unit.” It is a unique alphanumeric character assigned to the product to track its inventory record.
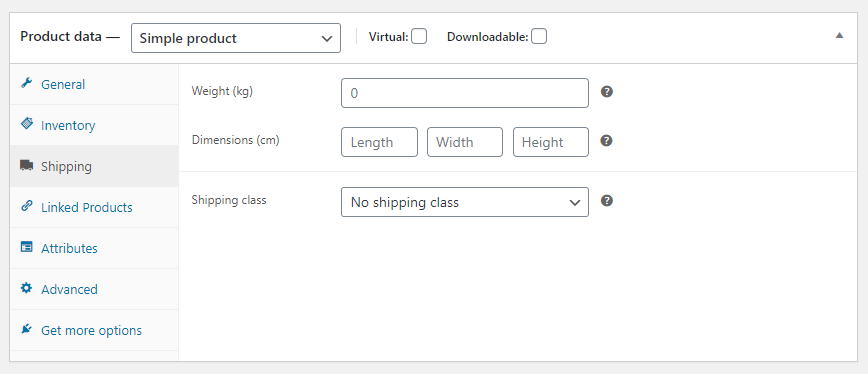
Shipping
Set the weight and measurement of the product and its shipping class here.
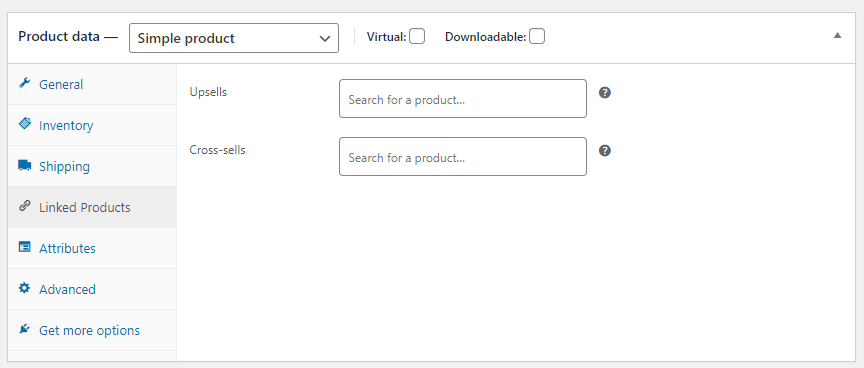
Linked Products
This option is to set the product’s up-sell and cross-sell.
Up-sell means recommending customers products that are of better quality or more expensive than the one they are looking at.
Cross-sell means recommending customers products that are related to the product they are currently looking at.
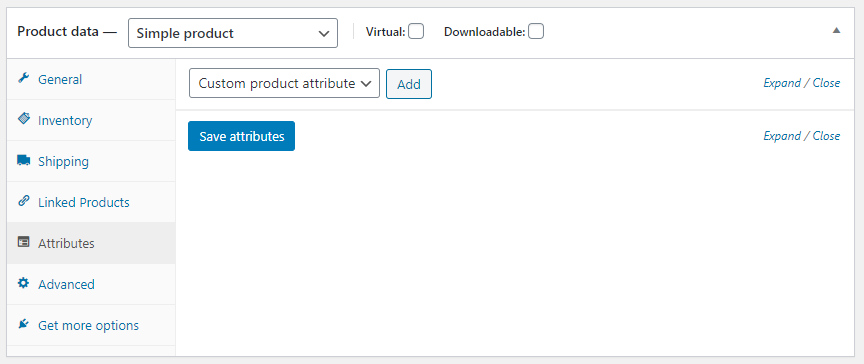
Attributes
You can add product attributes like size, color, weight, etc.
Variations
This option is only available if the product type is “variable product.” You can set the variations of a product here.
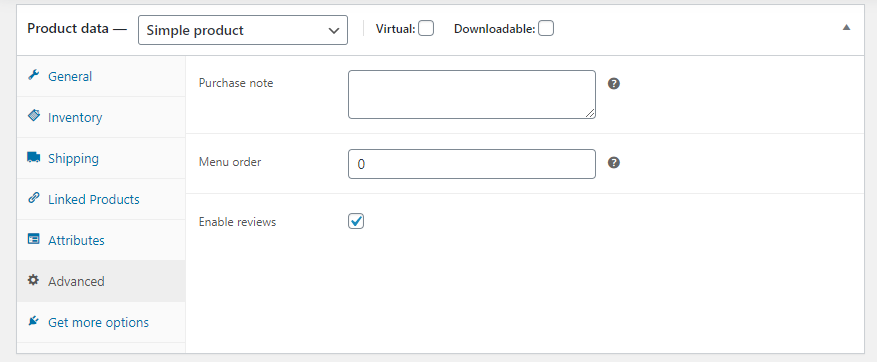
Advanced
You can add the purchase note here that will be sent to the customer after purchase., change the menu order, and enable reviews for the product.
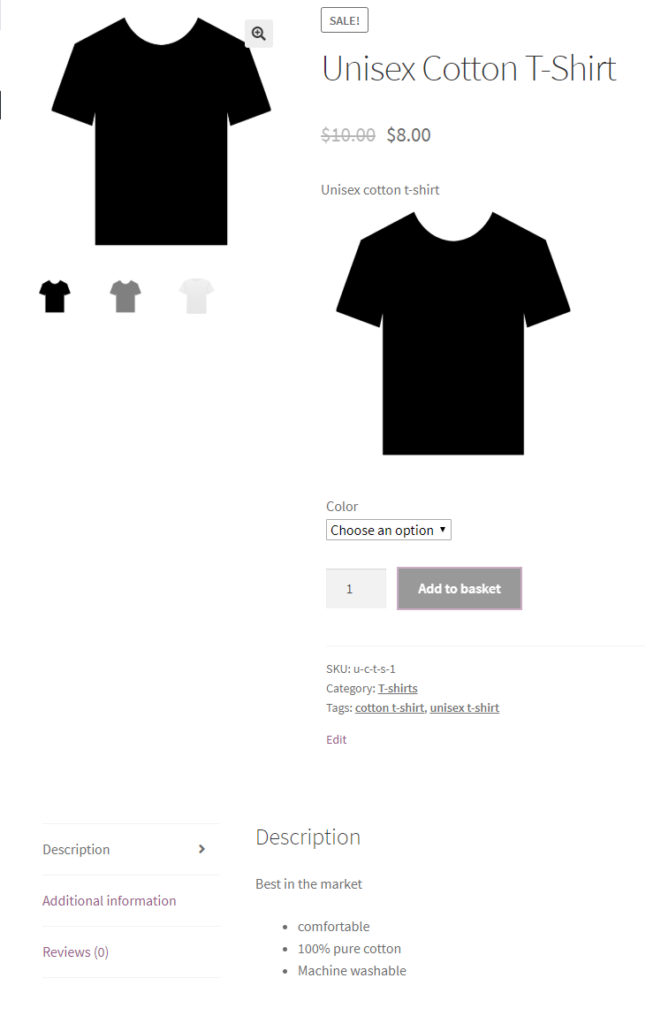
After you have configured the product page, publish it. You have created your first product page! The page should look something like this:
There are many themes available, both free and paid, that you can activate to enhance the appearance of the store.
Wrapping Up
These were the necessary steps you need to get done to start a WooCommerce Website. From here on, you can begin managing your store. WooCommerce is very simple to use and trusted by many. The success stories by the customers of the platform are worth a read if you need more assurance or want to get inspired.
What are you waiting for? Get working on your store now!
Disclaimer: This article is the result of the author’s research and observation, and the purpose of the article is to share general information with the readers. For any e-commerce business-related assistance, we recommend getting professional guidance.

Comments
Rocky
I have read so many content about the blogger lovers however this article is in fact a good article, keep it up.
December 28, 2021